Launching a membership program raises one practical question above all: how should you structure the plans? This article is part of our series on membership segmentation — each guide takes a different way to organise your plans and shows you how to set it up inside SmilePass, step by step. Here we look at the simplest model to sell: a good-better-best value ladder, where the same patient chooses how much cover they want. For the full menu of approaches, see our main guide, Example Dental Membership Plans.
What you are building
Three tiers of the same idea, deepening as you go up. The middle tier anchors the choice, the top tier makes it look reasonable, and the entry tier captures patients who would otherwise not join at all.
Essential $5/wk | Standard $9/wk ★ | Premium $14/wk | |
|---|---|---|---|
Best for | Budget / minimal cover | Most patients | Maximum-value seekers |
Exam (012) / clean (114) | 1 / 1 | 2 / 2 | 2 / 2 + hygienist |
OHI (141) | — | 1/yr | 2/yr |
Fluoride (121) | — | 1/yr | 1/yr |
X-rays — bitewing (022), OPG (037) | Bitewings | + OPG 2-yrly | + OPG + intraoral photos |
Emergency consult (013) | — | 1/yr | 2/yr + priority |
Whitening | member rate | — | 1 top-up/yr |
Fillings | — | — | special member discount |
Major dental — implants, crowns/veneers | — | — | special member discount |
Treatment discount | up to 5%* | up to 8%* | up to 10%* |
Numbers are examples — set your own inclusions and pricing.
Who is each tier for?
Essential — budget-conscious patients who want a little cover and the member discount, without paying for extras.
Standard — most patients: the default tier for routine, six-monthly care.
Premium — patients who want maximum value: extra cleans, a whitening top-up, and the best discounts, including on fillings and major work.
Before you start
SmilePass ships with Essential, Comprehensive and Premium templates that map almost exactly onto this ladder — a fast starting point. Set up your two price lists, standard and member, so the discount is simply the gap between them at a percentage you choose, and keep each step up meaningful so the tiers feel genuinely different.
Step by step in SmilePass
Open the builder. Go to Settings then Membership Builder.
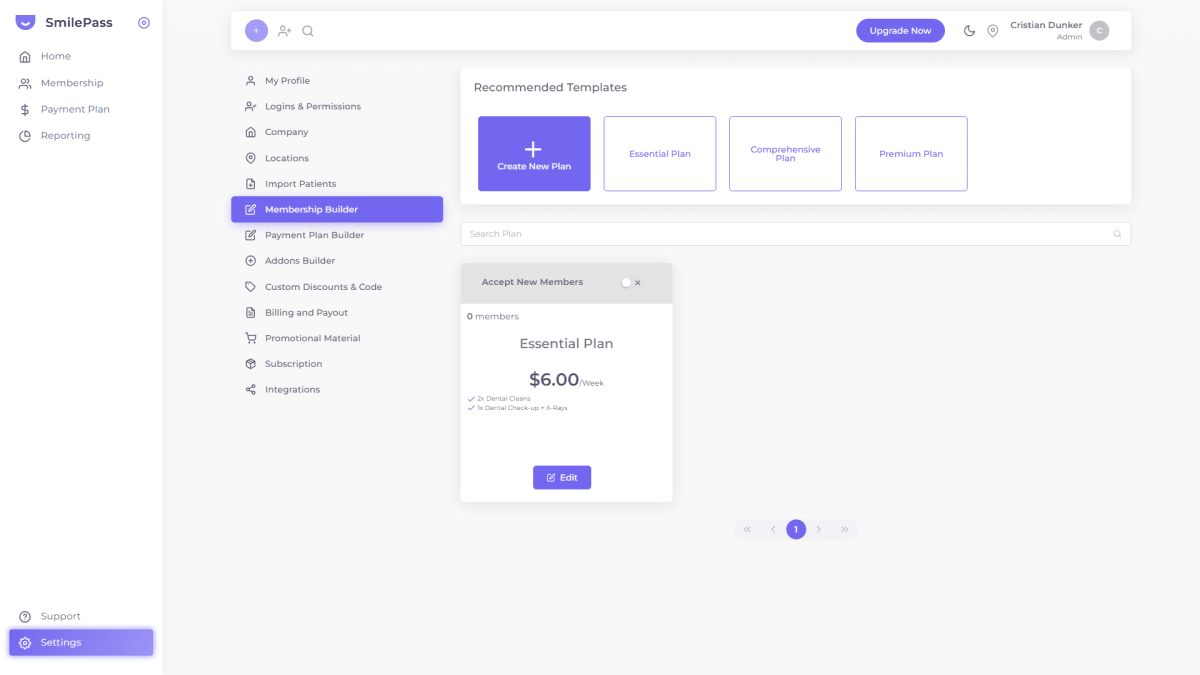
Start from a template. The Essential, Comprehensive and Premium templates are a ready-made good-better-best ladder — or click Create New Plan to start from scratch.
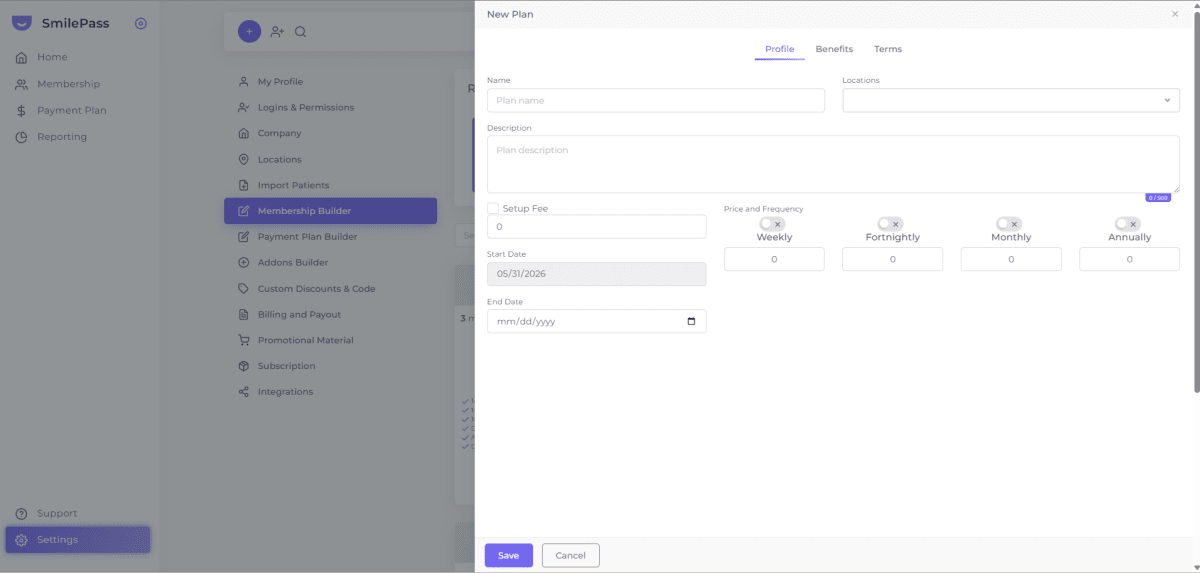
Fill in the Profile tab. Name the tier, choose the Location, add a short description, and set the price under the right frequency — stepping the price up across the three tiers.
Add inclusions on the Benefits tab. Deepen each tier as you go up — add OHI, fluoride, a whitening top-up and a fillings discount on the higher tiers.
Set conditions on the Terms tab. Note the waiting period and that the member discount applies through your member price list.
Save, then repeat for all three tiers.
Open each tier for sign-ups. Switch "Accept New Members" on.
Enrol patients onto the tier they choose. They can move up a tier later from the Patient list Actions menu.
Tips and common mistakes
Keep each step meaningful. Every tier up should add something the patient can clearly see and want.
Do not add a fourth or fifth tier. More options only slow the decision.
Anchor with the middle. Price and present the tiers so Standard is the obvious pick.
Use the templates. Essential, Comprehensive and Premium save you most of the setup.
Frequently asked questions
Can I start from a template?
Yes. SmilePass includes Essential, Comprehensive and Premium templates that map onto a good-better-best ladder.
How many tiers should I offer?
Three is ideal. More than that slows the patient's decision and adds admin.
How does the member discount actually work?
Through two price lists — standard and member. Members are billed from the member list; the difference is the discount, and you set the percentage.
Written by Cristian Dunker, BDS, dentist (oral rehabilitation), with MBAs in Marketing (Sociesc-Brazil), Project Management (FGV-Brazil) and Finance (Bond - QLD).