Track 1 · Getting started
Setting up your practice locations
Each clinic you operate is one Location. This is the form to set one up.

Step 1 of 5
Your setup starts here
When you first sign in, your dashboard shows a setup checklist. The first task is to add a practice location. Click Set up Locations to begin.
Click the highlighted area or Next to continue · use ← → keys
Each clinic you operate is a separate Location in SmilePass. A default one is created automatically from the onboarding wizard (named "[Your business] Main Location") and starts with status PENDING until every required field is complete.
Step 1 — Open the Locations list
Navigate to Settings → Locations. The table shows every clinic with columns Location · Users · Status · Actions. Status pills:
- PENDING — fields missing; can't accept patient sign-ups yet
- Active — fully configured and live
Step 2 — Edit or add
To edit the auto-created location, click the kebab menu (⋯) on the row → Edit. To add a new clinic, use the Add button top-right. Either opens the same form as a side drawer.
Step 3 — Fill in Location Details
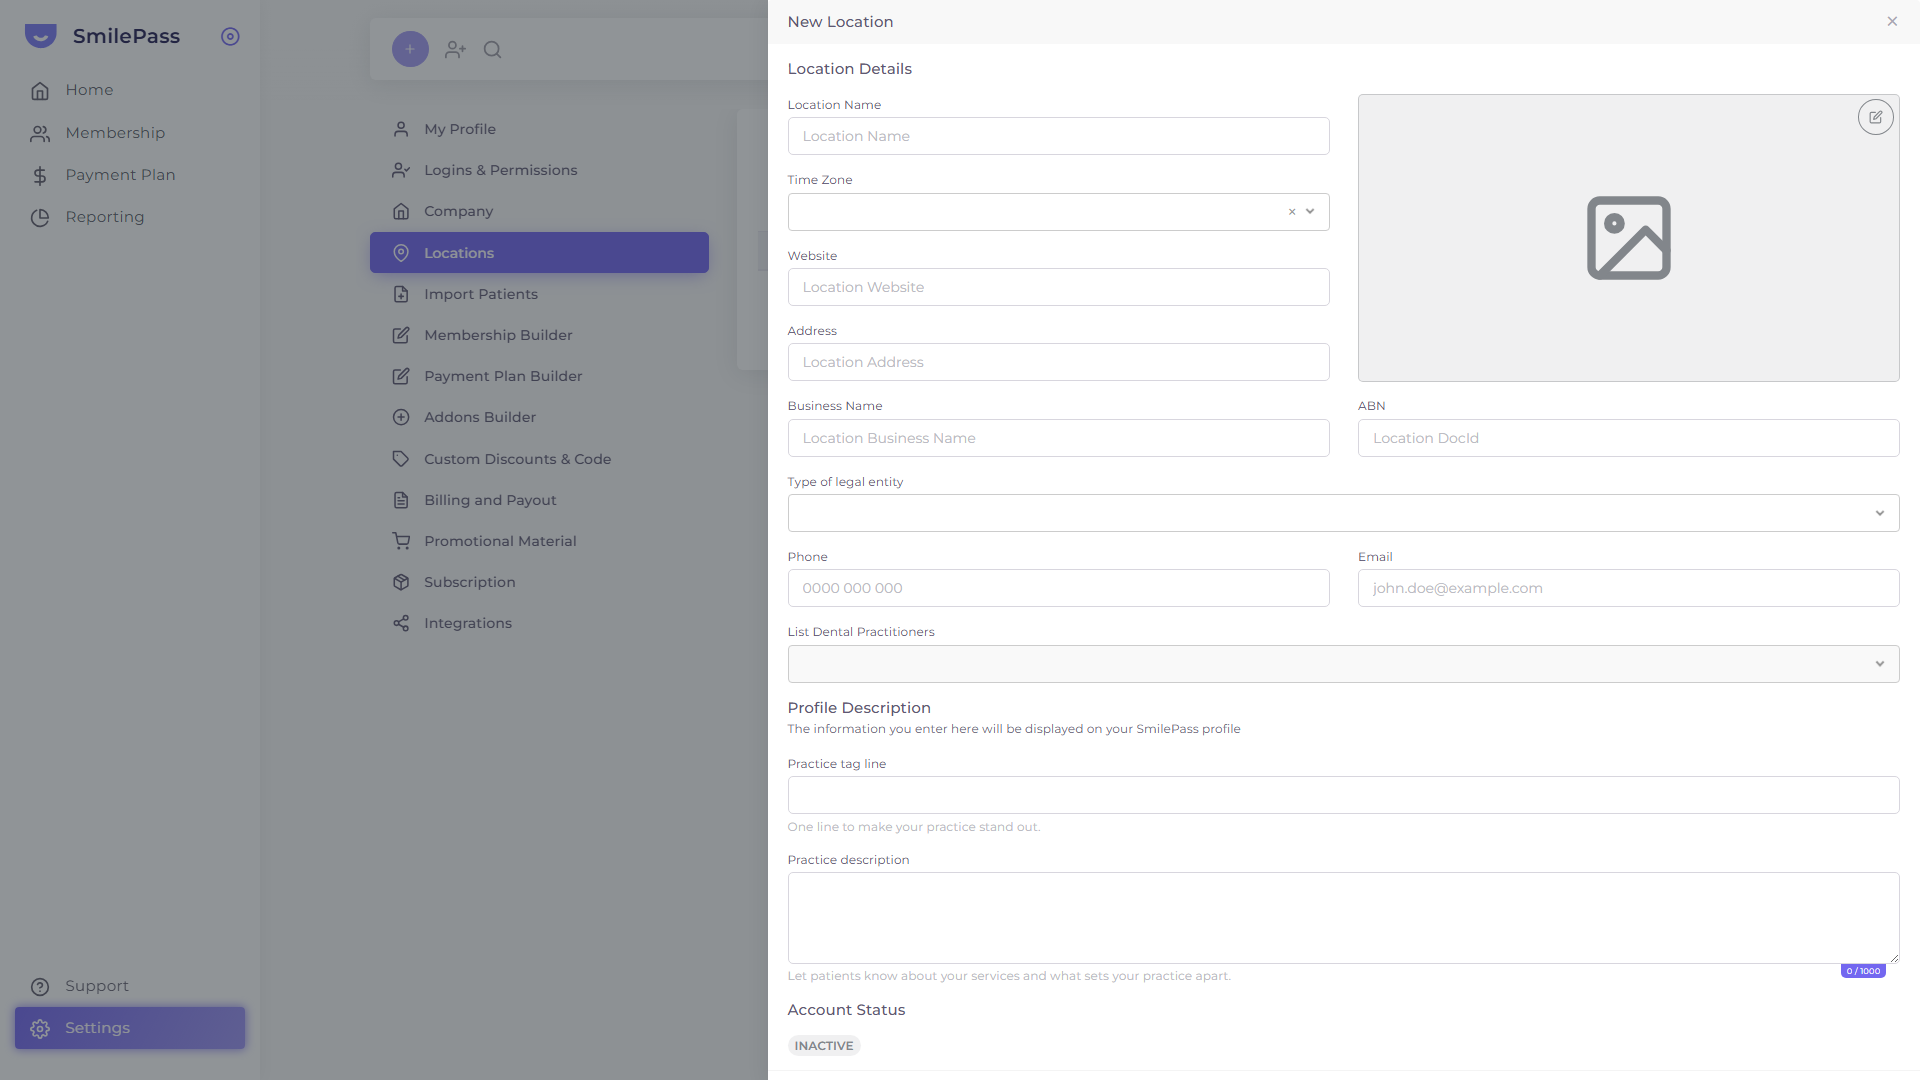 Every field on the New Location form. Fill the top half (Location Details), then the Profile Description that shows on your public profile.
The top half of the drawer:
- Location Name — what staff and patients see
- Time Zone — sets when reminders fire
- Website — the clinic's own website URL
- Address — full street address (geocoded for the location switcher)
- Profile photo — uploaded via the image area on the right
- Business Name — trading name; can differ from your Company record
- ABN — Australian Business Number
- Type of legal entity — dropdown
- Phone — main clinic line
- Email — main clinic inbox
- List Dental Practitioners — multi-select; populated from your Users list
Step 4 — Fill in the Profile Description
These two fields show on your public SmilePass profile (the patient-facing landing page):
- Practice tag line — one short hook (e.g. "Family dental care in Southport since 2010")
- Practice description — up to 1,000 characters; describe your services, your team, what makes the practice different
Step 5 — Save
Press Save Changes. Once every required field is valid, the Account Status flips from PENDING to active and the location can accept patient sign-ups.
Common gotchas
- PENDING never flips? Look for missing fields — Phone, ABN, Time Zone and Type of legal entity are easy to skip.
- Wrong photo cropping? Re-upload from the image area on the right side of the drawer.
- Multi-location practices — repeat the flow for each clinic. Each becomes selectable in the location switcher.
With at least one Active location, you're ready to start building the plans you'll offer your patients.
Next step
Connecting Stripe & payouts →
The bank-connection step that activates a location and routes patient payments to your account.