Track 1 · Getting started
Quick actions in the top bar
The shortcuts every screen carries — patient creation, payment, theme, location, profile.
Step 1 of 6
The purple + — quick-create
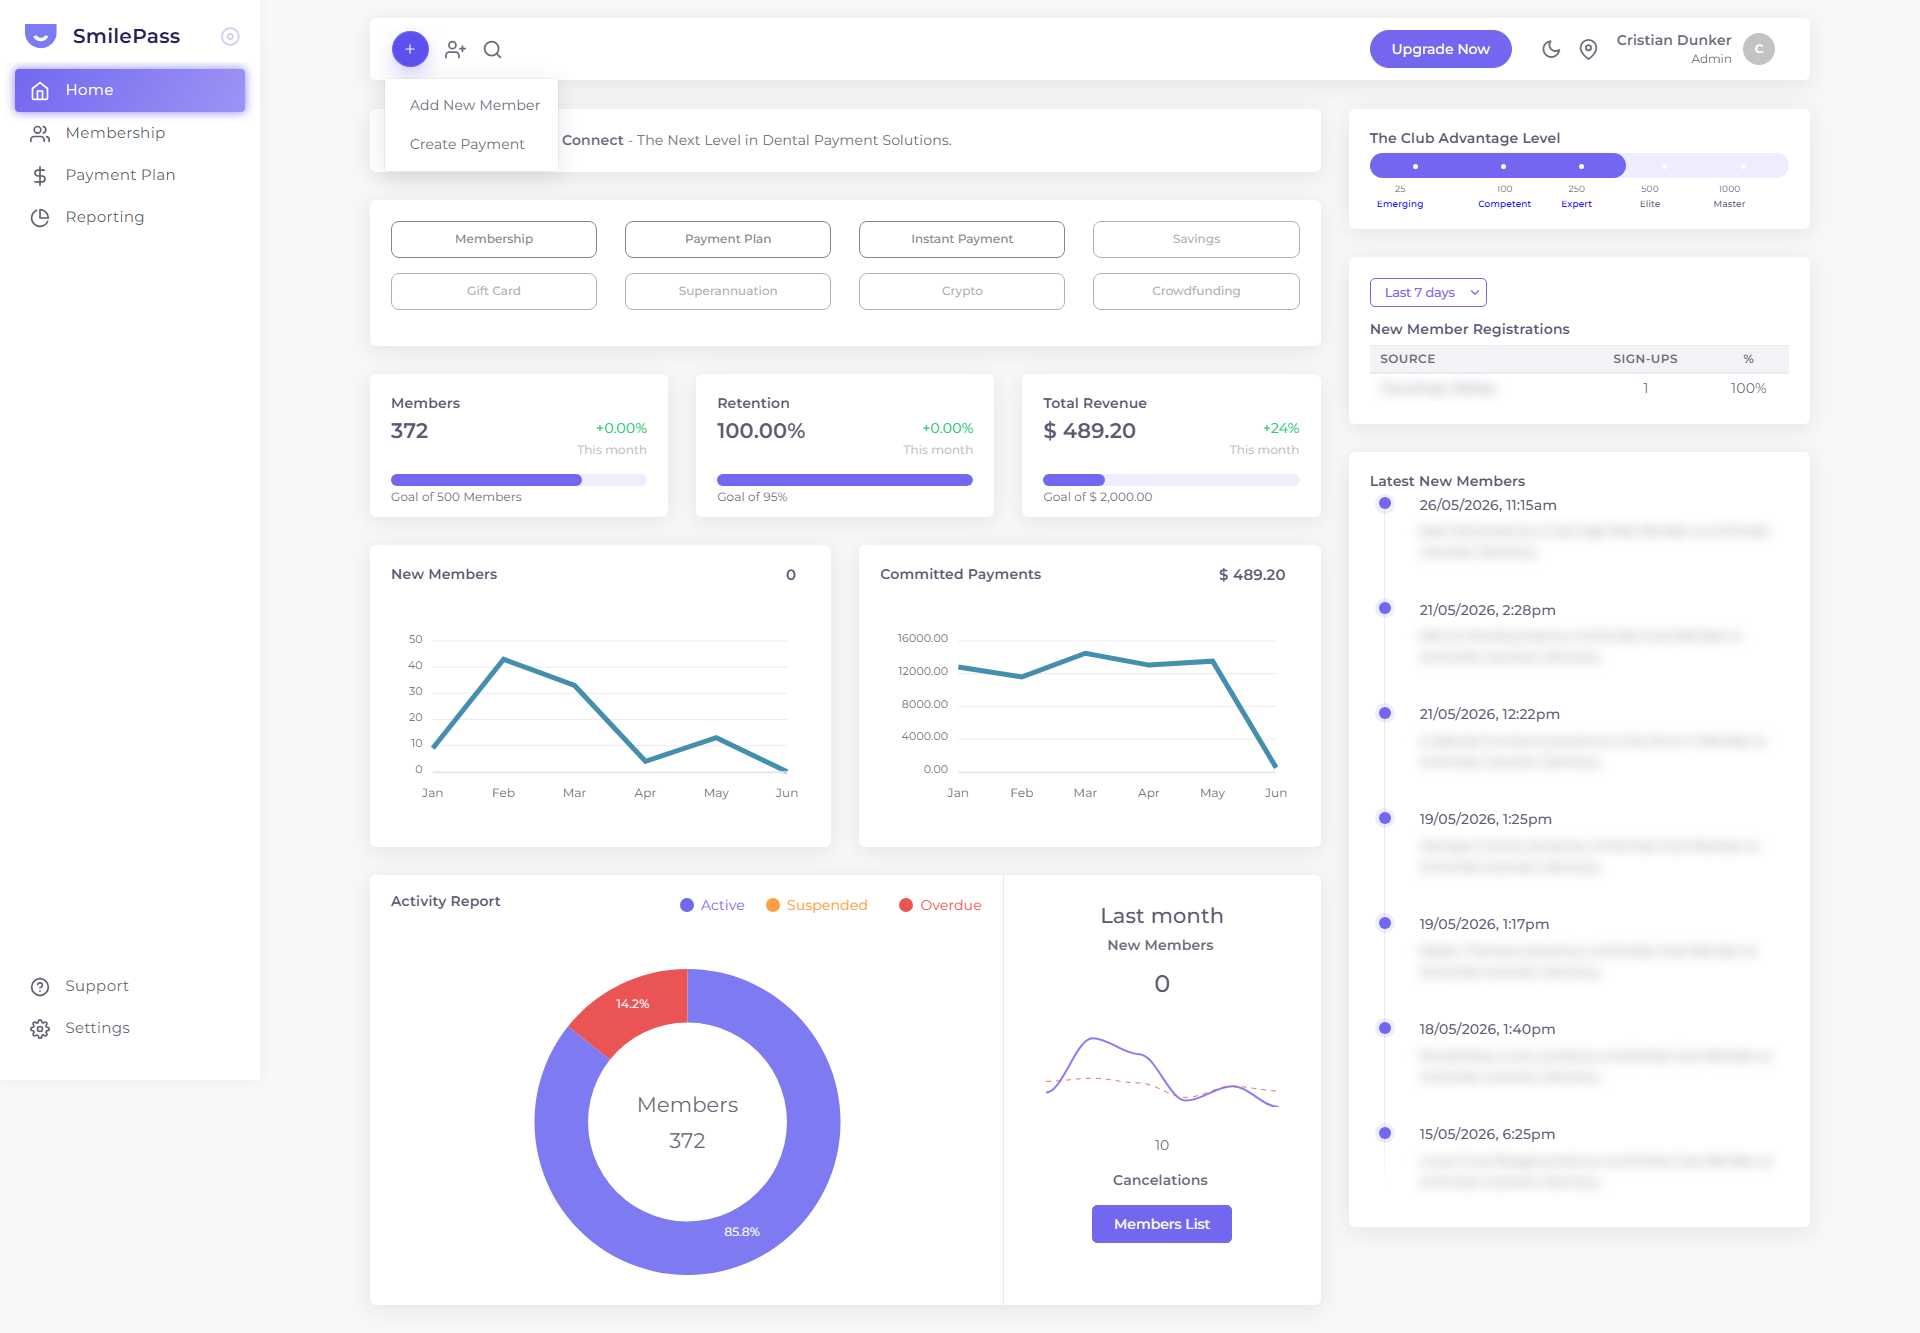
The fastest path to action anywhere in the app. It opens a tiny menu with the two most-frequent front-desk tasks: Add New Member (the five-step membership wizard) and Create Payment (Instant / Hold / Plan). Worth committing to muscle memory.
Click the highlighted area or Next to continue · use ← → keys
The top bar carries shortcuts that work from any page, so staff never have to navigate three menus deep to do common things. Walk through each one with the interactive guide above; the notes below add the detail. Learning these in order of frequency pays back fast.
Purple + — Quick-create menu
The fastest path to action in the entire app. Click to open a tiny menu with two options:
- Add New Member — kicks off the full five-step membership wizard.
- Create Payment — opens the payment creator (Instant Payment and Payment Plan tabs).
Worth committing to muscle memory — these are the two most-frequent tasks for front-desk staff.
Person+ — Register a New Patient
Opens a modal that captures just the patient record, without putting them on a membership. Fields:
- Current Location (dropdown)
- First Name · Last Name
- Email · Phone (with +61 Australian prefix)
- Birthday · Gender
- Address
Use this when you want a patient in the system but they're not signing up for anything yet — for example, a walk-in who'll book a consultation but hasn't decided whether to join the membership.
The difference vs the Add New Member wizard: the wizard wraps a membership around a patient; the person+ saves the patient on their own.
Search
The magnifying glass icon — global search across patients and records.
Upgrade Now
Deep-link to Settings → Subscription for tier comparison. Quick way to jump there from anywhere.
Moon / sun
Light / dark theme toggle. Applies to the entire admin app immediately. Personal preference, doesn't affect what patients see.
Location pin — location switcher
Critical for multi-clinic accounts. Click the pin to drop down a list of every clinic you operate, with a tick beside the one you're currently acting under. Every action you take (Add Patient, Create Payment, reports) is scoped to the selected location. Single-clinic accounts will just see their one location listed.
User avatar
The circle with your initial in the far right. Click to open a small menu:
- Profile — jumps to Settings → My Profile
- Support — jumps to the support / tickets page
- Logout — signs you out
Why this matters
If you can call up these shortcuts without thinking, common tasks (book payment, register patient, jump to your profile) collapse from a five-click journey to one click. Train new staff on the top bar before anything else.
Next step
Setting up your practice locations →
Each clinic you operate is one Location. This is the form to set one up.