Track 4 · Daily operations
Adding a new member (the membership wizard)
The five-step flow that signs a patient up to a membership plan.
Step 1 of 6
Start a new member
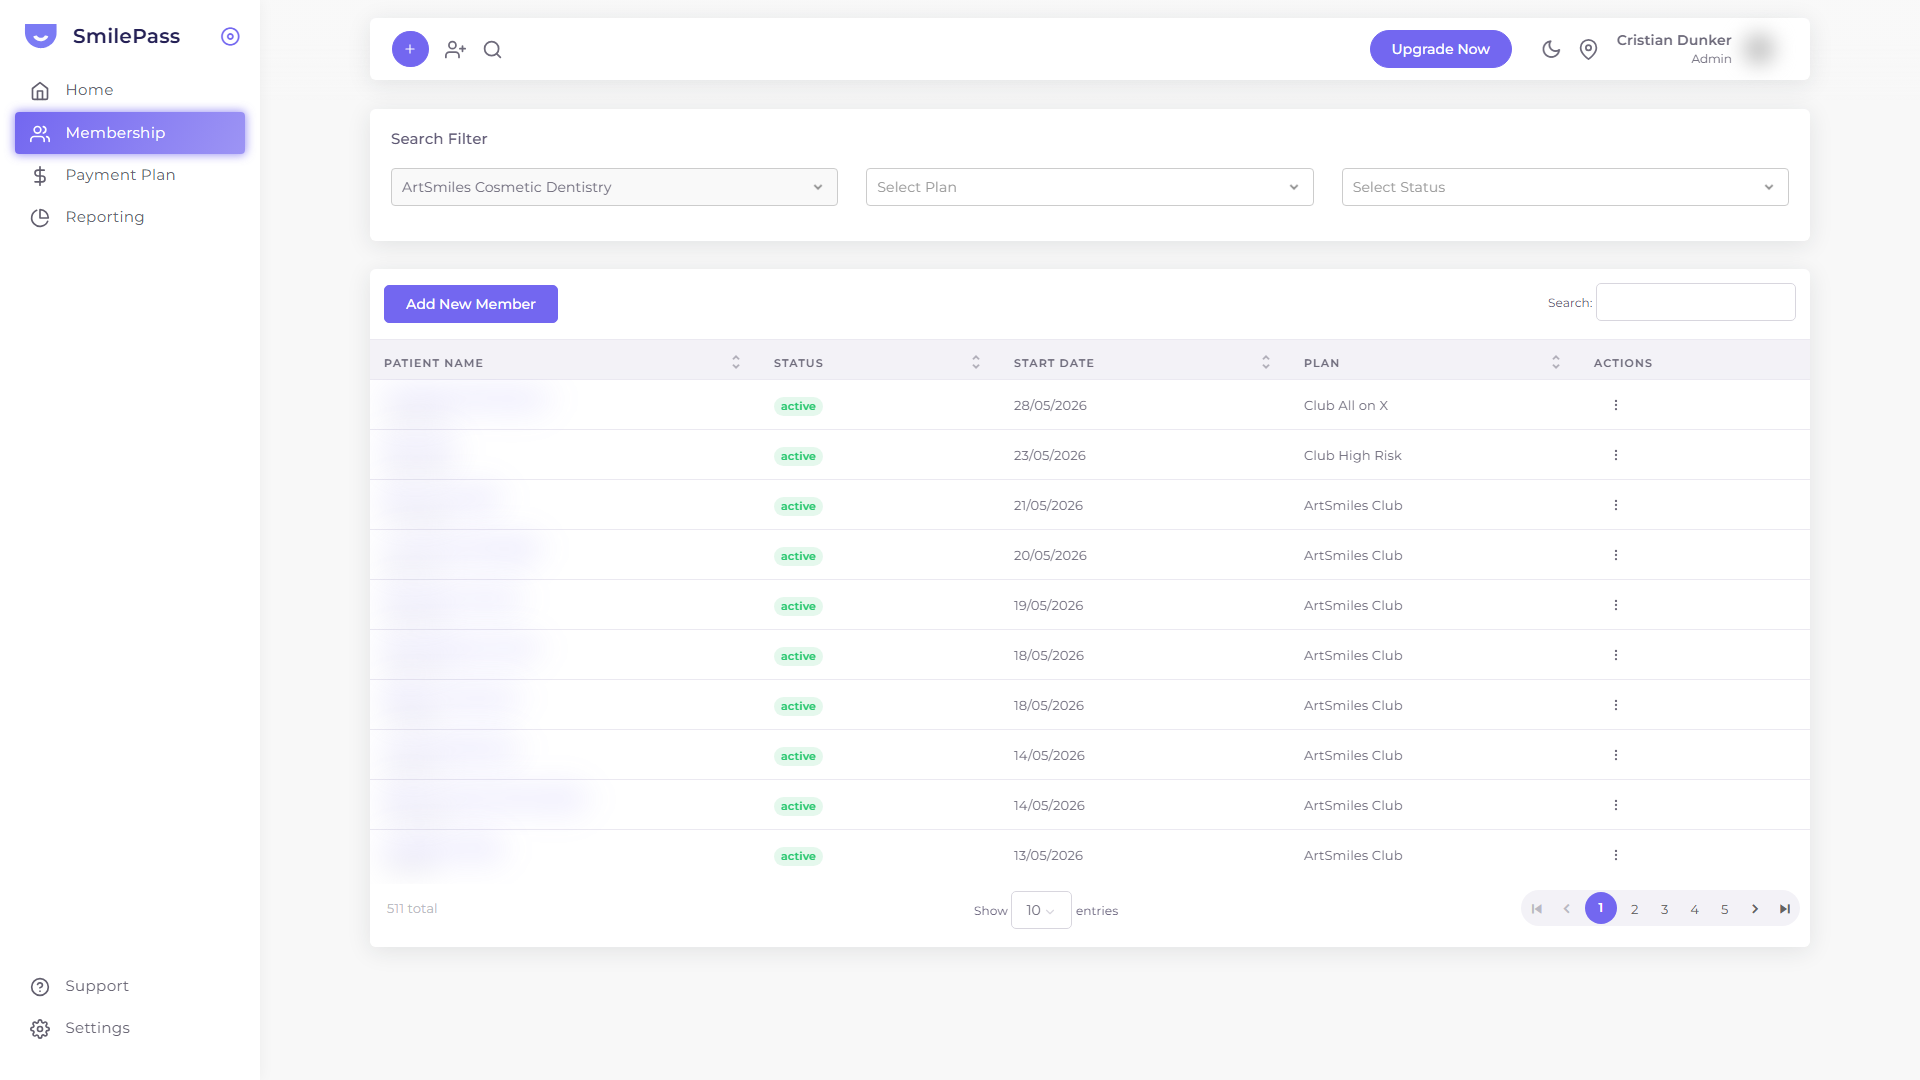
On the Membership list, click Add New Member to open the five-step sign-up wizard.
Click the highlighted area or Next to continue · use ← → keys
The Add New Member wizard is the canonical way to put a patient onto a membership plan. It walks through plan selection, personal details, dependents, add-ons and review in five steps.
How to start
Two paths:
- Click Membership in the left sidebar → Add New Member button at the top-left of the table
- Use the + quick-create in the top bar → Add New Member
Either way you land on Step 1 of the wizard. Across the top, five step indicators show your progress: Start · Form · Dependents · Add-ons · Review.
Step 1 — Start (Select Plan)
The left half captures the core details:
- Current Location — dropdown; defaults to the location you have selected in the switcher
- Start at — date picker; defaults to today
- Select Account Holder Plan — pick from your active membership plans
The right half is a live pricing card that updates as you choose. It splits costs into two blocks:
- Join Fee (one-time) — Account Holder · Dependents · SmilePass Fee
- Monthly Fee (recurring) — Account Holder · Dependents · Addons Fee · SmilePass Fee
A COUPON field at the top of the card accepts a promo code, and the discount applies live as you type it and press Apply.
Press Next to continue.
Step 2 — Form (Personal Details)
Patient contact and identity information: name, email, phone, address, date of birth and so on.
If the patient is already in the system from a previous registration, SmilePass pre-fills from their existing record.
Step 3 — Dependents
Optionally attach family members under the same account holder. The Add Dependent panel notes the family deal up front (for example, "10% off per dependent for the account holder, and 10% off for the added dependent").
Adding dependents triggers the Dependent Program discount — the pricing card updates to show the discount applied to both the holder and each dependent.
Step 4 — Add-ons
A dedicated step (this is the one most people miss). Attach any add-ons you've built — a whitening top-up, an oral-care kit, and so on. Whatever you select moves into the Addons Fee line of the Monthly Fee block on the pricing card.
Step 5 — Review (Send Payment Link)
Confirm the final breakdown, then send. SmilePass dispatches the join link to the patient by both SMS and email — see the patient signup flow for exactly what they receive.
The patient completes payment themselves on their own device. Once they pay:
- Their record flips from pending to Active in the membership list
- The Join Fee is captured
- Their recurring fee schedule kicks off from the Start at date you chose in Step 1
- The payment method is saved (typically a BECS direct debit) for the recurring cycle
Tip — let the patient pay on their phone
Don't capture card details at the front desk. Send the link and let the patient tap through on their own phone. It's faster, and it keeps card handling off your team entirely.
Next step
Taking an instant payment →
Charge a one-off cost and send a pay-by-link in seconds.