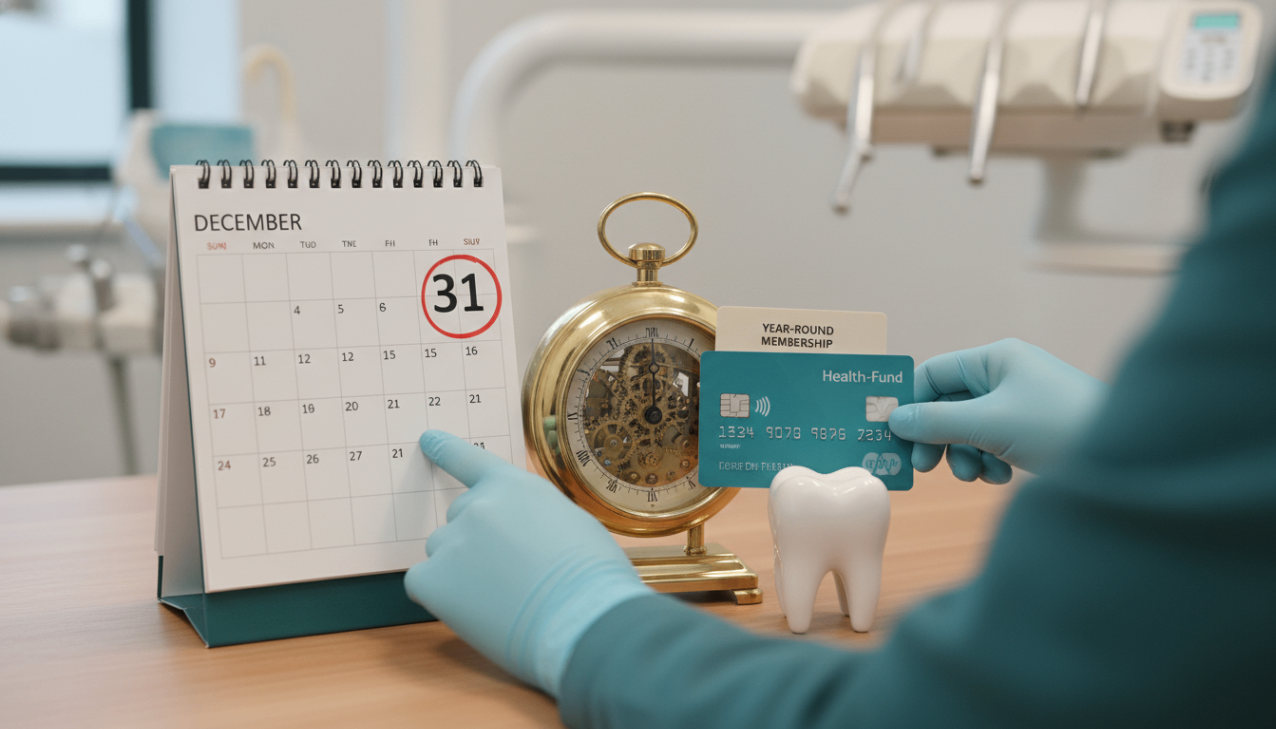
Launching a membership program raises one practical question above all: how should you structure the plans? This article is part of our series on membership segmentation — each guide takes a different way to organise your tiers and shows you how to set it up inside SmilePass, step by step. Here, we start with the most common approach: segmenting by clinical risk.
Risk-based tiers are the most clinically defensible way to structure a membership program — you match how often a patient is seen to how much care they actually need. In our main guide, Example Dental Membership Plans, it is the first segment we cover. This article shows you how to build it inside SmilePass, step by step.
What you are building
Three tiers, with visit frequency scaling to clinical risk.
Low risk $5/wk | Standard $9/wk ★ | High risk $13/wk | |
|---|---|---|---|
Best for | Healthy, stable bite | Most adults, average risk | Gum disease, smokers, diabetics |
Exam (011/012) | 1/yr | 2/yr | 2/yr |
Scale & clean (114) | 1/yr | 2/yr | 4/yr |
OHI (141) | 1/yr | 1/yr | 2/yr |
Fluoride (121) | — | 1/yr | 2/yr |
X-rays — bitewing (022), OPG (037) | Bitewings | Bitewings + OPG 2-yrly | Bitewings + OPG 2-yrly |
Emergency consult (013 — consult only, no treatment) | 1/yr | 2/yr | 2/yr |
Oral-cancer screen | ✓ | ✓ | ✓ |
Treatment discount | up to 10%* | up to 10%* | up to 10%* |
Numbers are examples — set your own inclusions and pricing.
Who is each tier for?
Low risk — patients with a healthy, stable mouth: no active decay or gum disease, and good home care. They need light preventive upkeep, so one check-up and clean a year is plenty.
Standard — the average adult, with average decay and gum risk on a six-monthly routine. This tier suits most of your patient base.
High risk — patients with active or recurring gum disease, heavy calculus, smokers or diabetics. They need more frequent cleans and closer monitoring to stay stable, so visits step up accordingly.
Before you start
Decide two things first: the inclusions each risk band gets, and your two price lists — your standard (private) fees and a member fee schedule. In SmilePass the treatment discount is simply the gap between those lists, and you choose the percentage.
Step by step in SmilePass
Open the builder. Go to Settings (bottom-left) then Membership Builder. You will see Create New Plan, three ready-made templates (Essential, Comprehensive, Premium), and any plans you have already made.
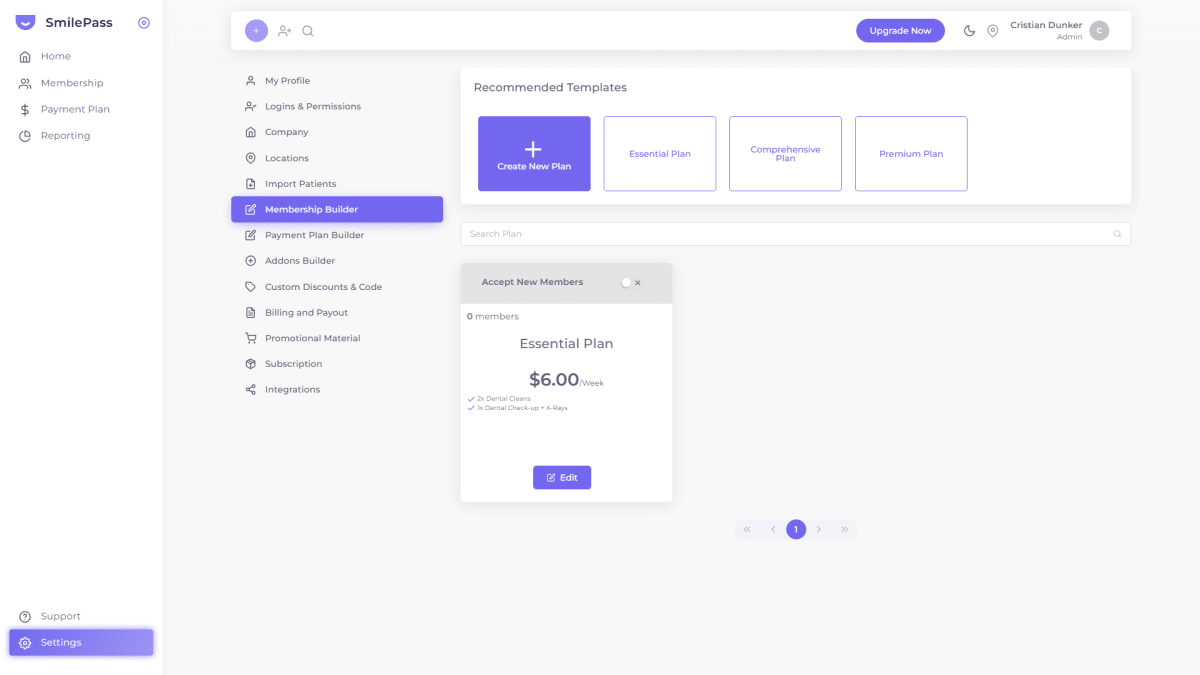
Start your first tier. Click Create New Plan — or click the Essential template as a head start for your Low-risk tier.

Fill in the Profile tab. Give it a clear name (for example, Low Risk Plan), choose the Location, add a short description, then set the price under the right frequency (Weekly, Fortnightly, Monthly or Annually). Add a setup fee or start/end date only if you need them.
Add inclusions on the Benefits tab. Enter each inclusion as its own line, in patient-friendly words — "1x Check-up + X-rays", "1x Scale & clean", "Oral hygiene advice". Keep the ADA codes for your internal mapping; patients just see the plain wording.
Set conditions on the Terms tab. Note your waiting period and that the member discount applies through your member price list.
Save, then repeat for Standard and High risk, stepping the visit counts up (2 cleans, then 4; add fluoride and an OPG for higher risk).
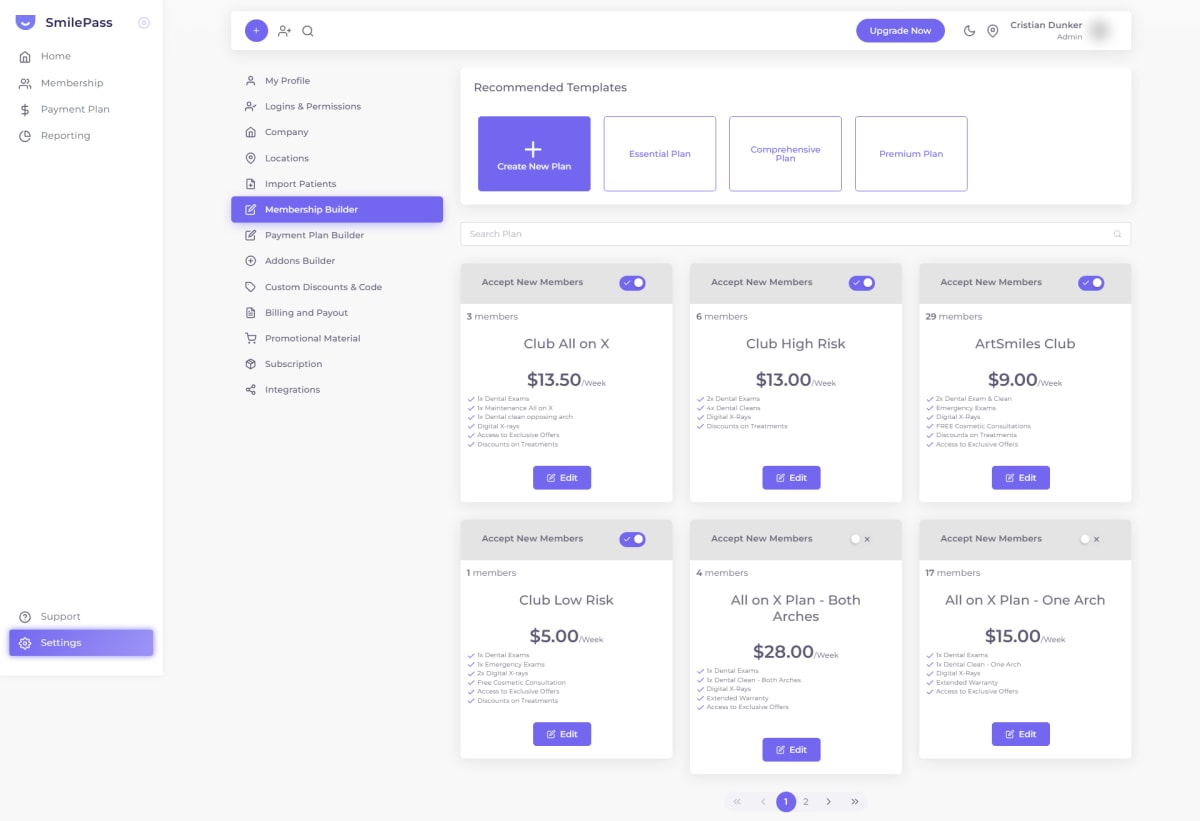
Open each tier for sign-ups. On the plan card, switch "Accept New Members" on. Use Edit to adjust inclusions or price anytime.
Assign patients to the right band. When you enrol someone (Membership then Add New Member), pick the tier that matches their risk — and move them later, via the member's Actions menu, as their risk changes.
Tips and common mistakes
Use the templates. Essential, Comprehensive and Premium map neatly onto Low, Standard and High — rename them to your risk language and adjust.
Re-assess at recall. A high-risk patient whose gums settle could step down a tier; SmilePass lets you move them in a couple of clicks.
Do not over-build. Three risk bands is plenty — more just slows the patient's decision.
Keep card wording plain. ADA item numbers are for your fee schedule, not the public plan card.
Frequently asked questions
Where do I create membership plans in SmilePass?
Settings then Membership Builder. You can start from a template or build from scratch.
How does the treatment discount actually work?
You run two price lists — standard and member. Members are billed from the member list; the difference is the discount, and you set the percentage.
How do I move a patient to a different risk tier?
Open the Patient list, find the patient, and use their Actions menu to change their plan.
Written by Cristian Dunker, BDS, dentist (oral rehabilitation), with MBAs in Marketing (Sociesc-Brazil), Project Management (FGV-Brazil) and Finance (Bond - QLD).